Kettle Water Level Markings To Avoid Bitter Brews
By Hyejin Park • 11th Oct
What to do first
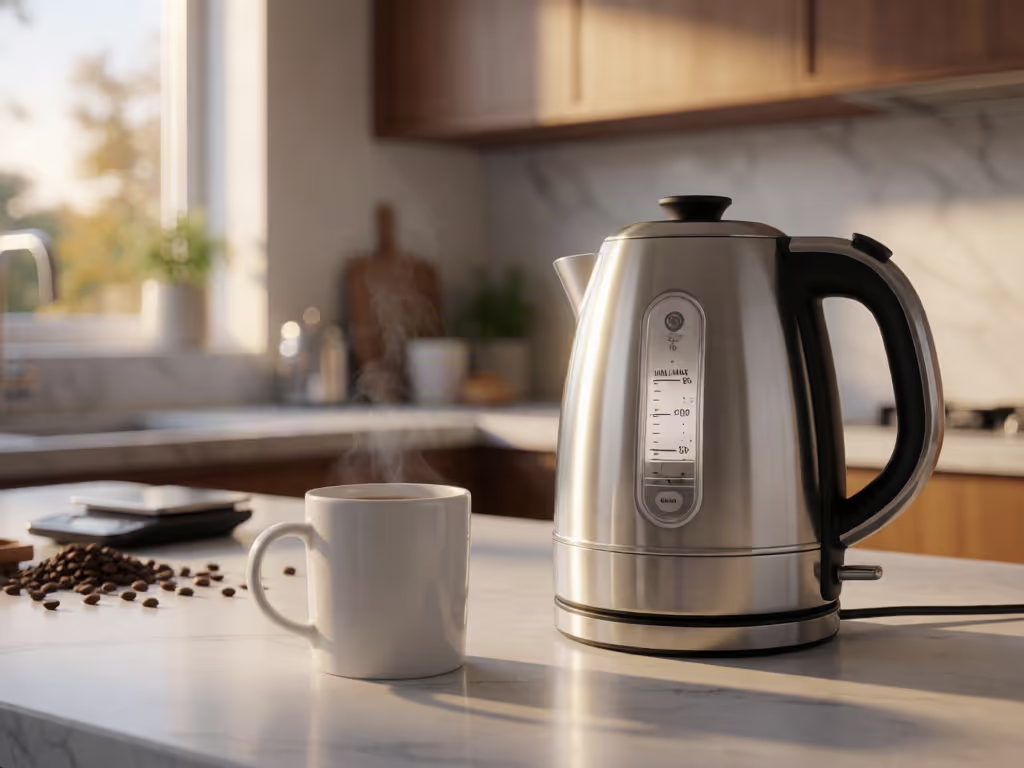
For the documented Emerio and Haden models, MIN and MAX markings identify the fill range in their instructions, but the available guidance does not establish water-level markings as a direct control for bitter tea or coffee. Check your own kettle’s MIN, MAX, and measurement units first.
- First action: Locate MIN and MAX on the actual kettle, then confirm their meaning in the supplied manual.
- Likely explanation: The Haden Dorset document says its water-level window shows the amount of water in the kettle.
- Stop or escalate when: Do not assume a cup marking has a fixed conversion unless your kettle’s documentation states one. If the required amount falls outside your kettle’s marked range, consult its instructions rather than improvising.
Important: The documented 0.5 L minimum and 1.7 L maximum apply to one Emerio model only, not to electric kettles generally.
The documents for the Emerio WK-131913.1 and Haden Dorset models instruct users to fill between their MIN and MAX markings. The available guidance does not establish water-level markings as a direct bitterness control. That distinction matters. For tea, brewing temperature is a separate consideration from where the water sits on a kettle marking. The Haden Dorset document says its water-level indicator shows the amount of water in the kettle, while the Emerio manual identifies a Water Gauge and gives model-specific fill limits.
For a calm, repeatable morning, check how your particular kettle’s instructions define its markings before treating them as boundaries or volume guidance. It is a small habit that helps you follow the instructions for your particular kettle.
The Problem: A Line on the Kettle Can Look More Precise Than It Is
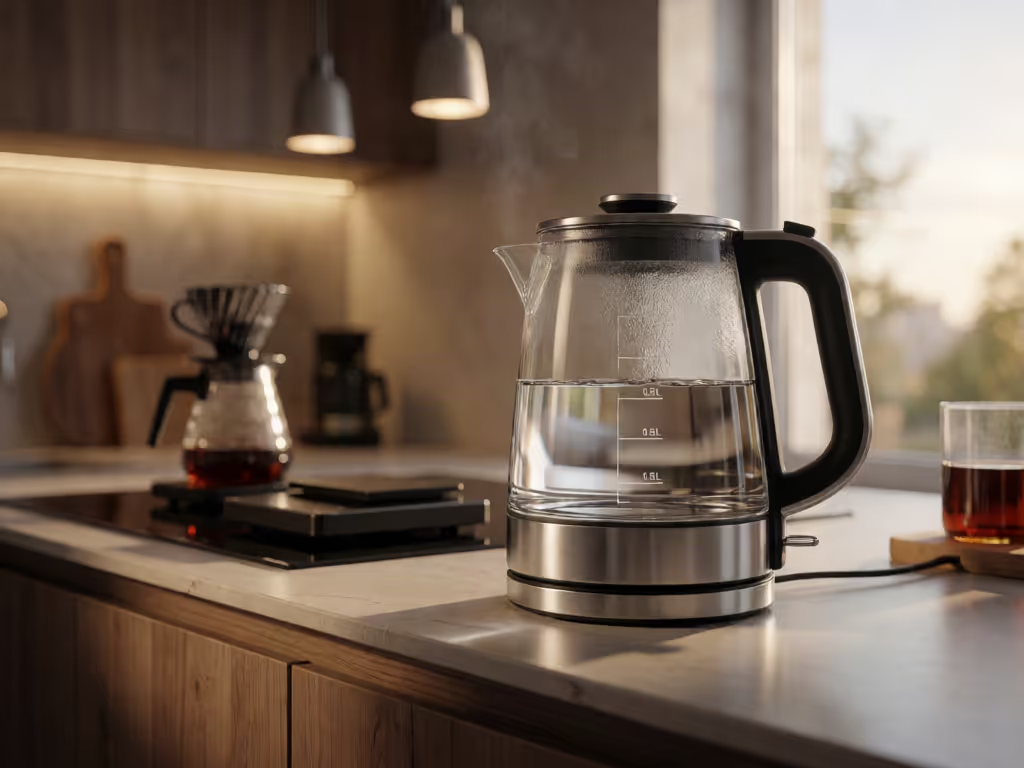
A published report on one glass electric kettle notes volume markings in liters and ounces. Separately, a Haden Dorset document states a capacity of 1.7 liters and 7 cups. That visual information can create a tempting assumption: fill to a preferred line, press the button, and the water will be perfectly suited to every drink.
That is more than the available guidance establishes.
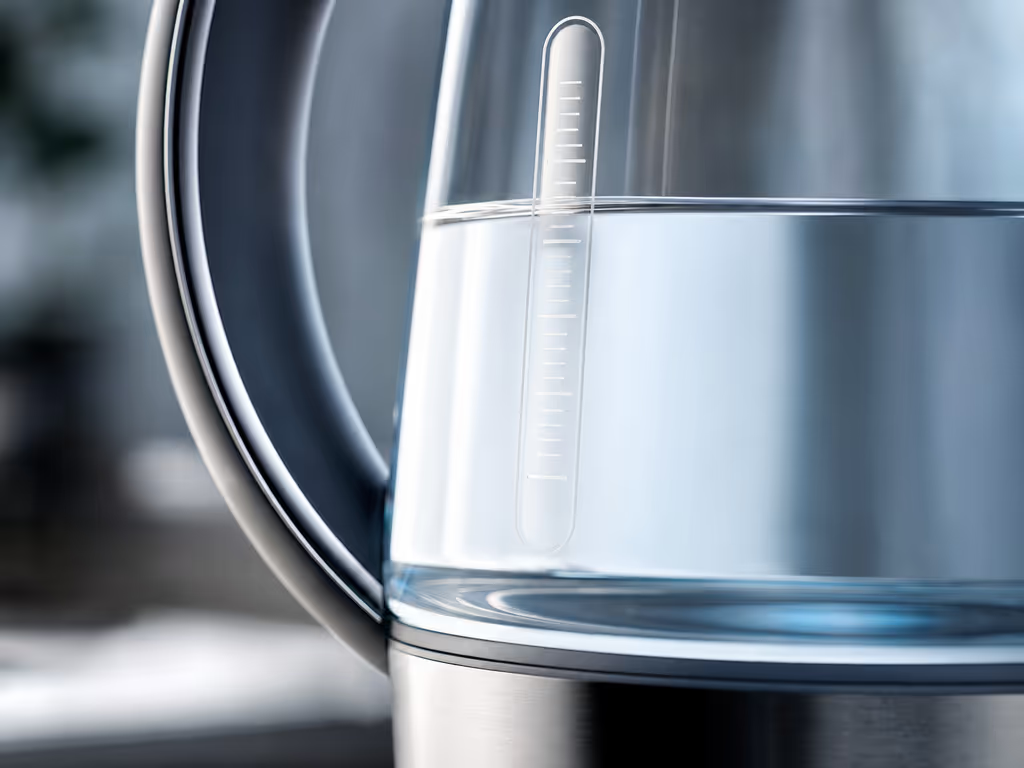
The Haden Dorset document describes its water-level indicator as a window that shows the amount of water in the kettle. The Emerio manual calls its component a Water Gauge. In the documentation for both models, the minimum and maximum marks define the range users are instructed to fill between.
What the available guidance establishes about the examples:
- The Haden Dorset water-level window shows the amount of water in that kettle.
- One OXO glass kettle was reported with volume markings in liters and ounces, while the Haden Dorset document separately states capacity in liters and cups.
- Brewing temperature is a separate consideration for tea.
- A capacity stated in cups does not establish the volume represented by every visible cup increment.
That last point deserves emphasis. A Haden Dorset document states a capacity of 1.7 liters and 7 cups, while a published observation of one OXO glass kettle notes markings in liters and ounces. These examples show how those individual kettles communicate volume; consult the documentation for your own kettle when you need to interpret a cup label.
Treat the labels on your kettle as instructions for your kettle, not as a universal brewing chart.
Why This Matters When You Are Trying to Fix Bitterness
When a cup tastes bitter or harsh, it is natural to scrutinize every visible variable, including the fill window. The available evidence does not link correct water-level markings directly to avoiding bitter tea or coffee. The evidence here supports a narrower, more useful conclusion: temperature matters for brewing different teas, while the Emerio and Haden instructions tell users to fill between MIN and MAX. These are related parts of a workflow, not the same control.
The practical risk is confusion under pressure. You wake early, want a quiet heat-up, and fill below the line because you only need a small amount. For the documented Emerio model, too little water can make the kettle switch off before boiling; overfilling that model can cause water to spill from the spout when boiling. Now you are troubleshooting the appliance instead of making a deliberate temperature decision.
I began paying closer attention to small appliance behavior in an apartment with paper-thin walls and an early-riser next door. A loud lid or an unplanned second boil changes the entire feel of the morning. Quiet matters when the house sleeps, but so does knowing exactly what the kettle is asking of you before you switch it on.
Below MIN: The Small Batch That May Not Finish
The numerical minimum documented here is specific to one kettle, so never borrow that number for another model. In the instructions for the Emerio WK-131913.1, the stated minimum is 0.5 L. Its manual says that too little water can cause the kettle to switch off before the water has boiled.
That is a functional issue, not a flavor diagnosis. If your kettle has a small-volume marking that you cannot meet for the amount you need, do not assume all kettles share the same limit or improvise around it. Check the instructions supplied with your unit to learn its stated minimum and its intended use.
Above MAX: More Water Is Not More Flexibility
MAX is not merely a capacity suggestion. In that same Emerio documentation, the stated maximum is 1.7 L, and the manual warns that water can spill from the spout when boiling if overfilled.
The immediate concern is managing hot water safely. It also protects the rhythm of the brew: a spill, cleanup, or cautious wait for the kettle to settle is the opposite of a controlled start. Brewing should respect both flavor and the people around it; that includes not sending hot water across a shared counter before anyone has had breakfast.
The Solution: Read Markings in a Deliberate Order
The most reliable approach is not to chase an ideal-looking line. It is to separate documented operating limits, volume planning, and temperature control.
1. Find MIN and MAX before you fill
Locate any MIN and MAX marks on the kettle itself, then check how the manual defines them. If the instructions designate them as fill limits, fill between them.
Do not treat 0.5 L or 1.7 L as category-wide rules. They are documented limits for one specific model. Use only the numerical limits documented for your own kettle.
2. Identify the unit printed beside the marks
On the reported OXO glass model, volume markings are in liters and ounces. The Haden Dorset document gives capacity as 1.7 L (7 cups), but that capacity statement does not establish the value of every visible cup line. Read whatever notation appears on your kettle in light of its own manual or stated capacity.
In a shared kitchen, use the markings and instructions for the kettle you are filling. Where its instructions identify MIN and MAX as fill limits, follow that documented range.
3. Decide the amount of water before heating
Plan the amount you need, then check the appliance’s marks and instructions before heating. Where the manual instructs you to fill between MIN and MAX, stay within those marks.
It is a modest form of repeatability: same intended volume, same documented fill range, fewer surprises. It does not guarantee a particular temperature or taste, but it keeps volume planning separate from the heating decision.
4. Handle temperature as a separate decision
If tea flavor is the concern, consult the controls and instructions for your kettle’s temperature behavior rather than treating a volume label as temperature guidance. A publisher’s tea guidance notes that lower temperatures matter for different types of tea. That is the relevant consideration when choosing water that is not hotter than your chosen tea requires.
The Haden Dorset document describes its water-level window as showing the amount of water in that kettle. Use your own kettle’s instructions when you need to understand its heating behavior. For more on temperature control, see this guide.
A Two-Minute Pre-Brew Check
Use this short routine when you are tired, rushed, or working in a shared space:
- Open the kettle and locate MIN and MAX. Do this on the actual kettle, not from memory.
- Check how the manual defines those marks. If it identifies them as fill limits, fill within them. If you need less than the documented minimum, follow your manual rather than assuming a workaround is appropriate.
- Read the measurement notation. The reported OXO markings use liters and ounces; the Haden Dorset document separately states capacity in liters and cups. Use the notation and instructions for the kettle in front of you.
- Set or choose your intended heating approach. The amount of water and the desired temperature are separate choices.
- Wait for the kettle’s own completion behavior. For example, the documented Emerio model switches off automatically once boiling is reached; that should not be assumed for every kettle without checking its instructions.
The routine takes less time than correcting an overfill or restarting after an early shutoff. It also lowers the sensory friction of a morning: less steam around the spout, less clatter from a hurried refill, and less chance of waking someone with an unnecessary second boil. Quiet gear preserves flavor and relationships in equal measure.
FAQ
How do you know when an electric kettle is boiling?
Follow the behavior described in your kettle’s instructions. The documentation for the Emerio WK-131913.1 says it switches off automatically once the water has boiled. That is useful for that model, but the available information does not establish one universal visual, audible, or automatic signal for all kettles.
How many times should you boil a new kettle before using it?
Use the instructions supplied with the specific kettle. For the Emerio WK-131913.1, the manual recommends boiling a full kettle of water twice and discarding the water before first use. Do not treat that as a blanket instruction for every brand or model.
Make the Markings Work for You
The actionable next step is straightforward: before your next brew, take ten seconds to identify the unit, MIN, and MAX on your own kettle, then open its manual and confirm what those marks mean for that model. Where the manual identifies those marks as fill limits, stay within the documented range. If you are selecting a temperature for tea, use the kettle’s controls and the brewing guidance for that tea. For a closer look at kettle water-level markings, see this guide.
That division of labor is unglamorous, but it is dependable, and dependable is what makes an early cup feel calm rather than corrective.
Related Articles